
Step by Step Painting Guide
Many of us are thinking of tackling tasks around the home that we have put off before. One of the most common of these is painting. Before you undertake what at first glance seems a simple operation, we thought we would give you a few handy hints on how to get started, and how to undertake the job. It is simple, there is just some steps to follow to make the whole process easier and more enjoyable.
TOOLS
There are a few tools you may need to gather first. Its best to have them before you start to ensure the activity runs smoothly.
- Filler and scraper to fill holes
- Your chosen Claybrook paint!
- A decent sized ladder that is safe to reach high points
- A fine sandpaper
- A small brush, around 3-4cm width
- A paint tray and roller and roller extension pole for high ceilings
- A sheet of some type to protect floor areas and furnishings that may get splashed. Be aware, paint splatter can fly!
- Primer and undercoat Tape; either painter’s tape or masking tape
PREPARATION
It is worth taking this time to prepare as the finished result will be so much more satisfactory.
Take all the pictures from the walls and remove hooks and nails, and take as much of the furniture out as you can and cover the remainder. Secure the sheets where possible as sometimes they fall off and paint sneaks onto much cherished surfaces.
Take a small amount of flexible filler with the edge of your scraper or knife and pull the filler across the hole. Then remove any excess filler. Follow the advised drying time of the filler you have chosen and once dry, use fine sandpaper to remove any excess filler and create a smooth surface.
Use a damp sponge to wash you wall. Sugar soap or diluted washing up liquid will do the job. This is to remove greasy fingers prints or anything that will stop the final job looking lovely. You may choose to wear gloves and goggles for this as some cleaners can be an irritant to skin and eyes.
Use the sandpaper to sand the walls once the filler is dry. This will remove any lumps and bumps and create a smooth surface for the paint.
Either tape around light switches and plug sockets or get a screwdriver and unscrew the sockets to ensure a crisp finish. Obviously, re-screw fittings on after wards.
PAINTING
Sealing and priming the surface to be painted are the foundations to creating a perfect finish. This also helps to ensure the paint doesn’t simply soak in to the wall, which is particularly important if you are painting a freshly plastered wall, because it is so absorbent. For the best final result, use your chosen Claybrook paint diluted with 25% water as a mist coat to seal the bare plaster, then wait 4 hours before applying your top coats. If it is a lime plaster, then you will need to use a specific sealer, which are readily available. More importantly, whichever primer or mist coat you decide to use, please ensure it does not contain PVA or have a high chalk content (often found in some cheaper trade primers) as this will cause your finals coats to crack and/or peel.
Priming can also act as an undercoat, and helps you cover over the areas you have filled etc. The primer gives to paint something to adhere to.
Carefully (please….no paint explosions) shake the tin, this helps for the components to mix.
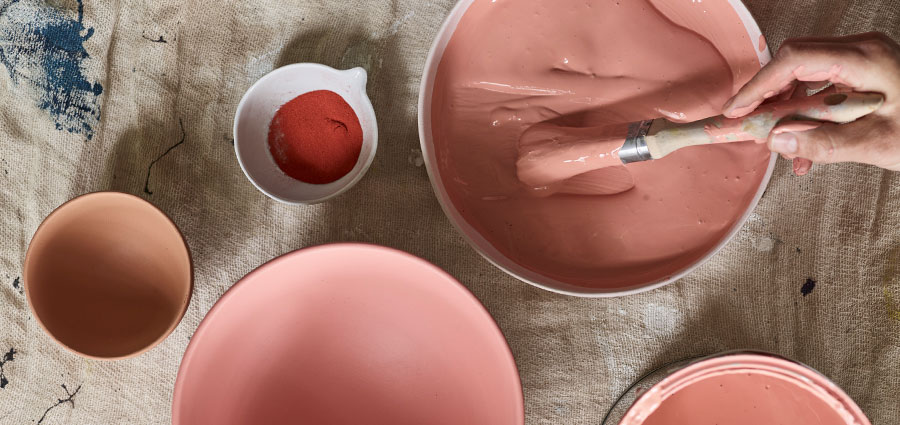
If you are painting a kitchen or bathroom or woodwork then you may have chosen eggshell, otherwise it is probably emulsion. Open the tin and stir the paint with a clean stick, this can take a couple of minutes for the best result. If you are using more than one tin mix them together in a bucket (sometimes people refer to a ‘paint kettle’, a specialist term for a metal paint container that professionals use to reduce splashes etc). The mixing and stirring is to ensure even paint colour, and to get the best consistency as some paints can separate in the tin.
Start by doing all your wall edges with a brush, this makes it a lot easier and gives you a frame to work within with your roller. Then, using your roller, give the whole wall one coat in diagonal ‘V shaped’ motions. Once complete, leave this to dry for around 4 hours depending on how warm the room is. Leaving it overnight is ideal.
Once dried (it should be dry to the touch) do a second coat following the same process. Most spaces will be complete after two coats. It is possible in rare cases that a third coat is required, however, if the walls were sealed or primed before-hand this should not normally be necessary.
Once completely dry, remove tape carefully, re -screw light switches etc, and re-hang pictures.
Claybrook tins, once empty, are suitable for recycling. Don’t forget to thoroughly clean brushes and rollers so that they can be used again, otherwise they stiffen and become unfit for purpose.
That’s it! Not as difficult as many clients believe at the outset, the key to a happy room is really in the preparation. Good luck!